
Contents
Have you ever wanted to play Android games or open an Android application on your PC? Are you an Android developer and would like to test Android applications on a PC?
This is a common problem faced by many individuals. So I will show you how to install Android 12 on PC to solve this problem.
In this article, I will take you through a step-by-step Android 12 install on PC to allow you to open Android Apps and Android Games on a PC. Let’s get started:
1. Download Android Studio
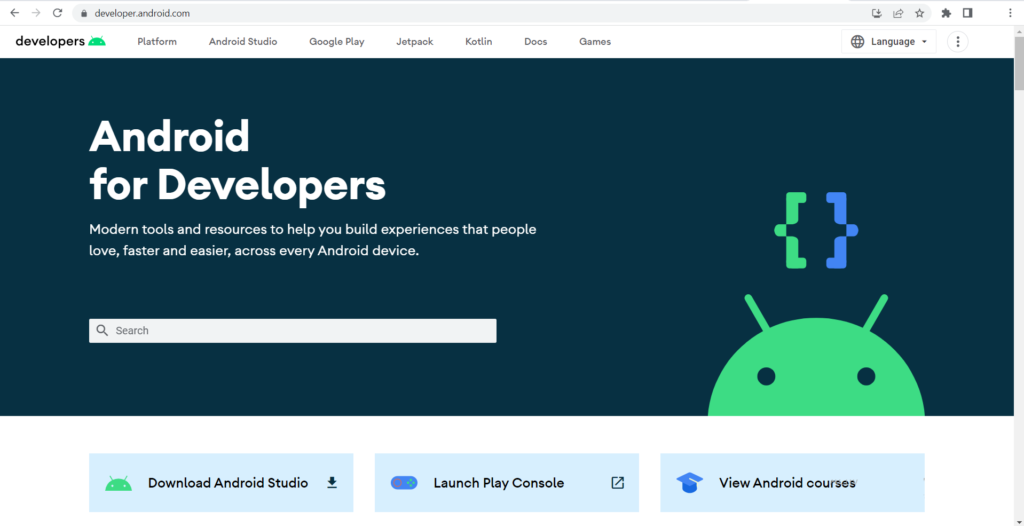
Go to the Official Android Studio website to download Android Studio.
Click on the Download Android Studio button.
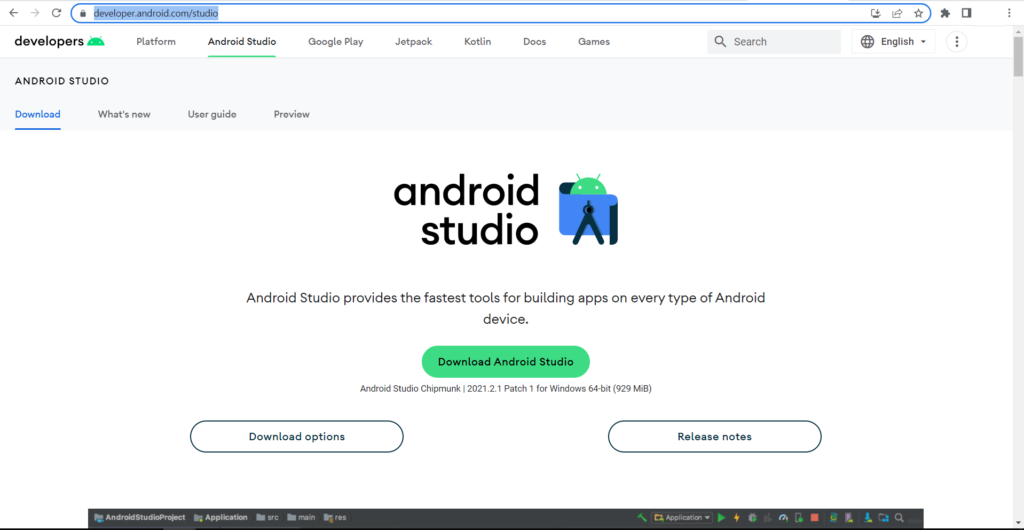
Accept the Terms and Conditions by clicking the check mark or tick, then click on “Download Android Studio Chipmunk.”

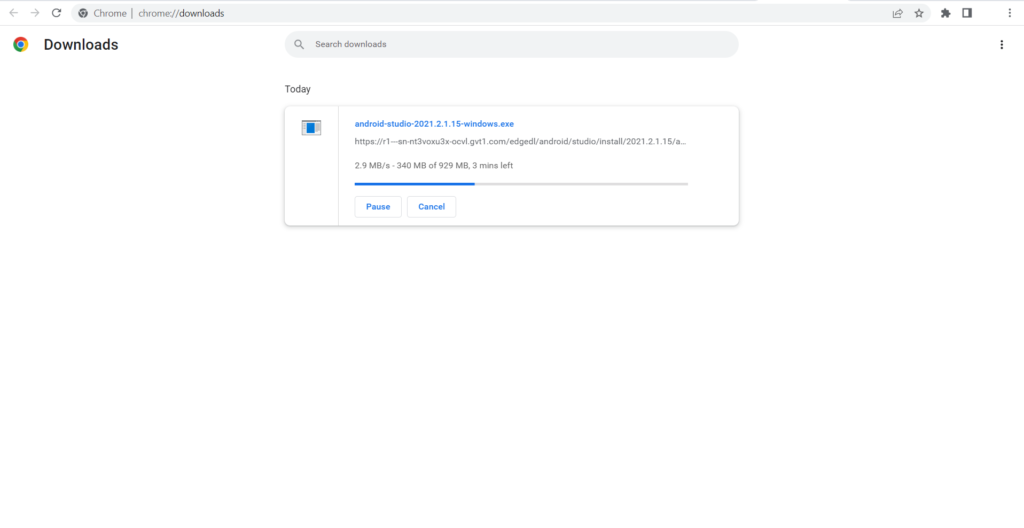
Wait for the download to complete. A progress bar will indicate the download progress.
The file will be stored in the default download location of your browser which is normally the Downloads folder.
2. Install Android Studio
Here are the steps for Android 12 install on PC and the Android Virtual Device (Emulator). Every step has detailed screenshots and explanations below:
- Double-click on the downloaded setup file to start the installation and click next.
- Ensure the checkmark “Android Virtual Device” is selected and click next.
- Choose the installation directory/folder and click next.
- Click Finish to start Android Studio.
- Decide on sharing usage data with Google and click next
- Install Android SDKs
- Select theme, whether dark or light
- Create Android Virtual Device
- Install HAXM if missing
- Start the Android Virtual Device
Below is a Pictorial Step-by-step process of Android 12 install on PC
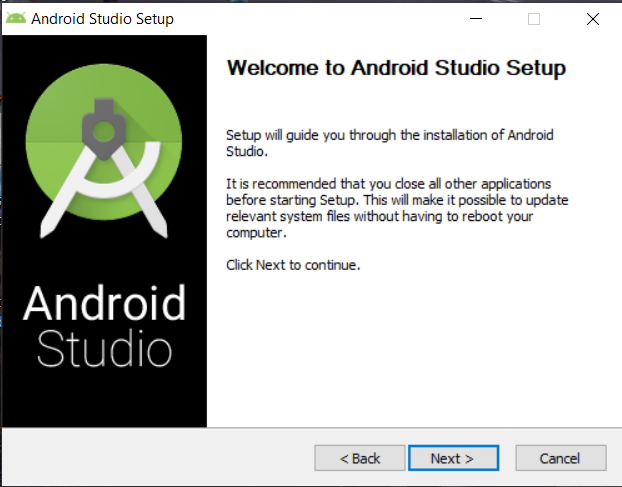
After the download is complete, double-click on the downloaded setup file to start the installation.
This will install Android in Windows PC.
Click on the “Next >” button.
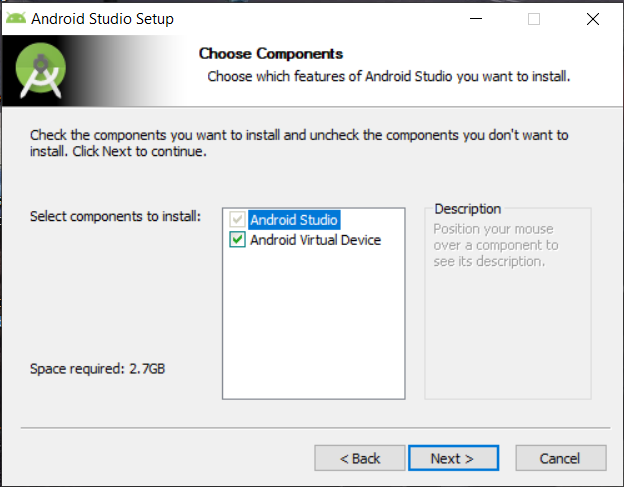
Ensure the checkmark “Android Virtual Device” is selected.
Click on the “Next >” button.
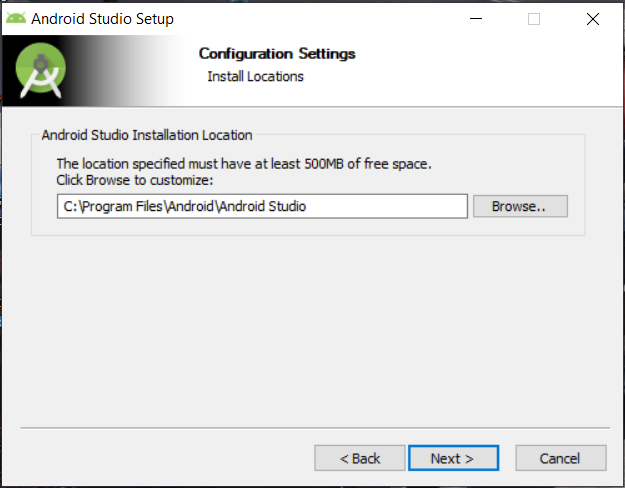
Let it install in the default location “C:\Program Files\Android\Android Studio” as shown below.
If you wish, you can choose a different location.
Click on the “Next >” button.
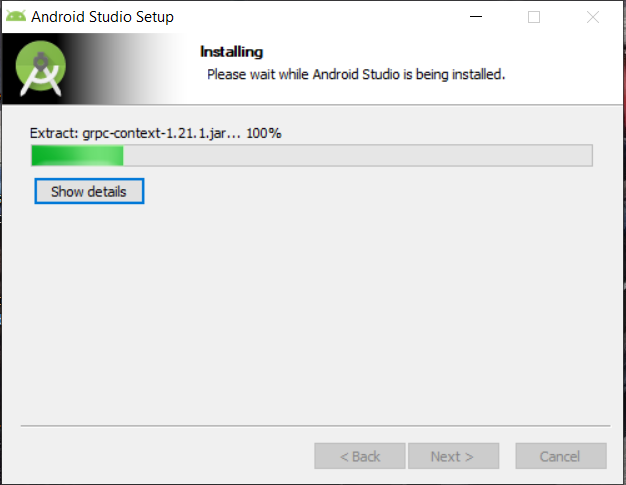
Allow the installation to complete.
A progress bar will show the installation progress.
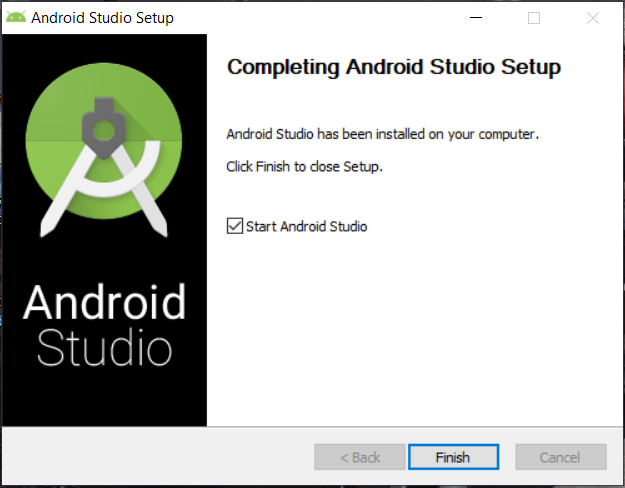
When the installation is complete, click the “Finish” button.
Ensure that the “Start Android Studio” checkmark is selected to start the program.
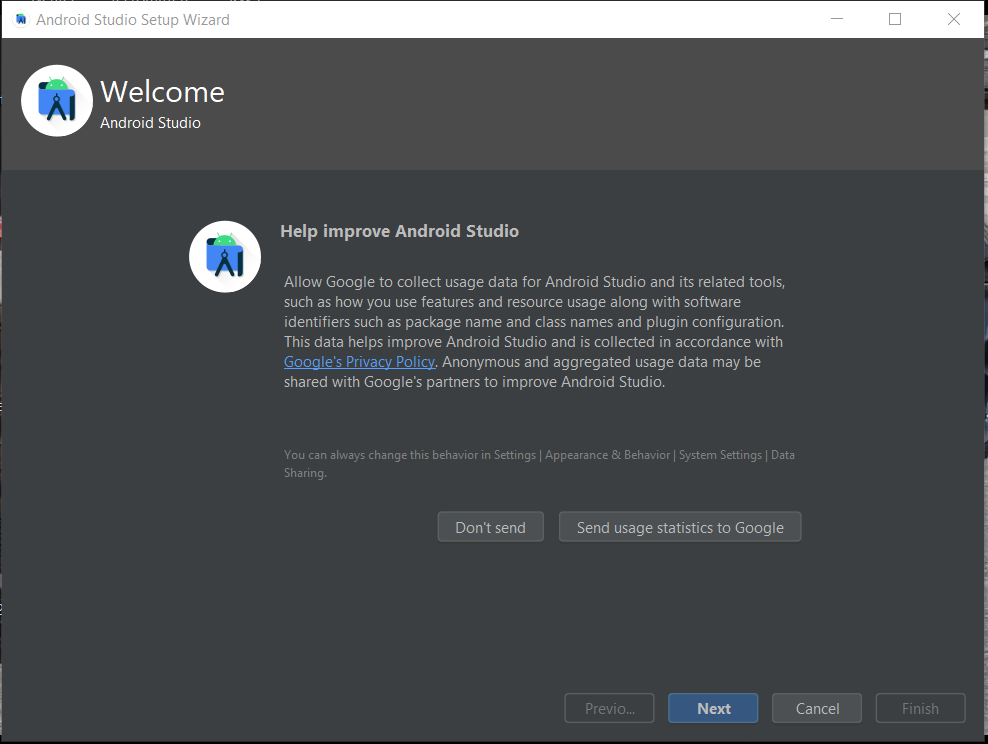
Select if you want to share your usage data with Google or not.
This is your personal choice.
Click on the “Next” button.
3. Configure Android Studio
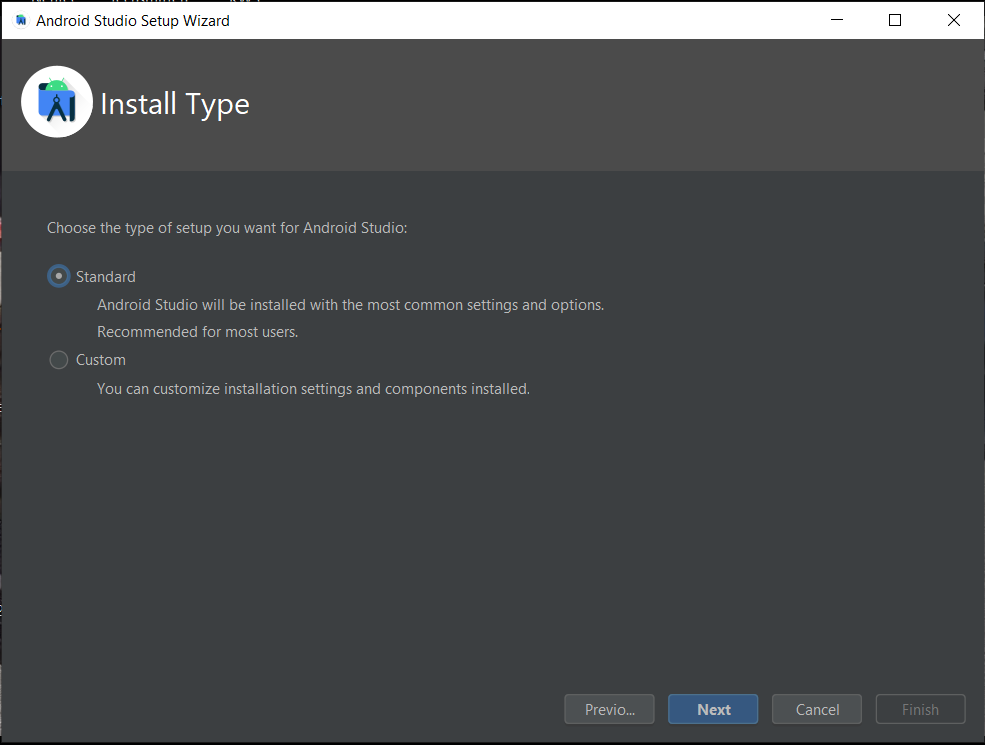
After the application runs, select the type of installation to install SDKs.
It’s recommended to leave the default “Standard” if you are a newbie.
If you want to select only specific options, select “Custom” and choose what to install and what not to.
In this guide, we shall leave it as “Standard”.
Click on the “Next” button.
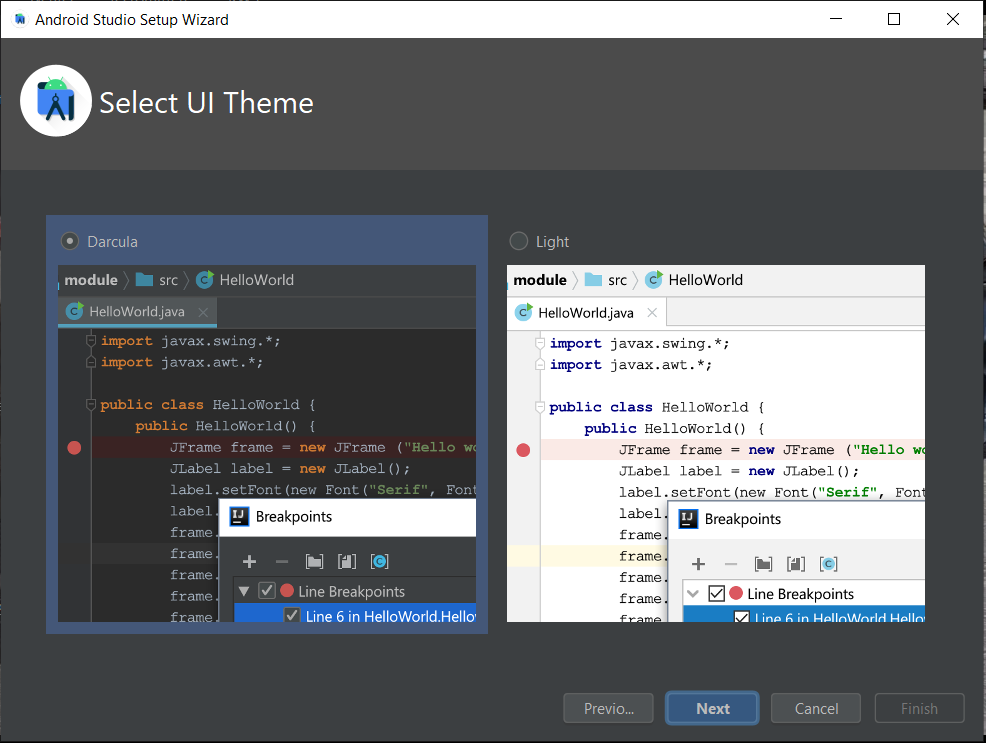
Choose your preferred theme, whether Light” or “Dark”.
Click on the “Next” button.
Review your choices.
Click on the “Next” button.

Accept the License Agreements and click “Finish” button to install.
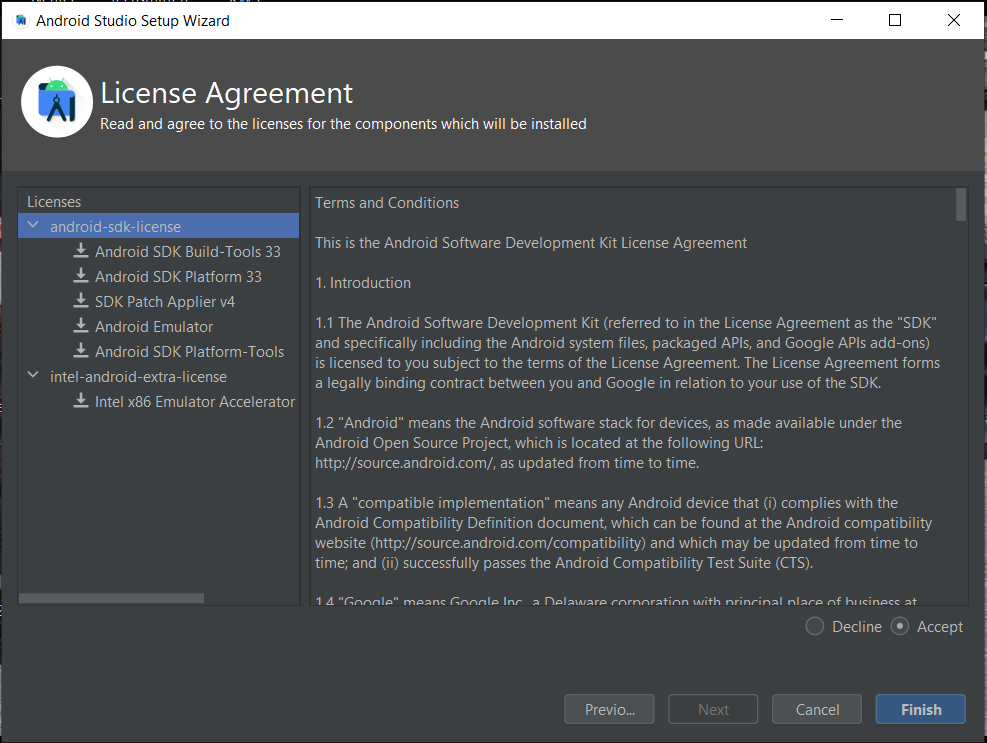
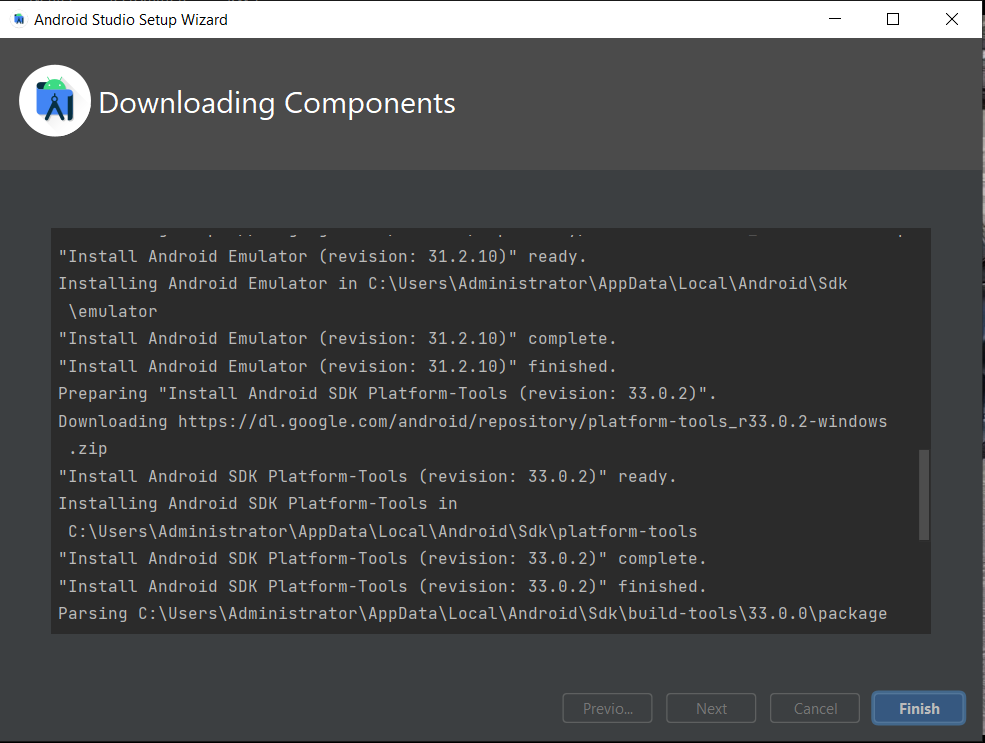
Android Studio will download and install all the required SDKs.
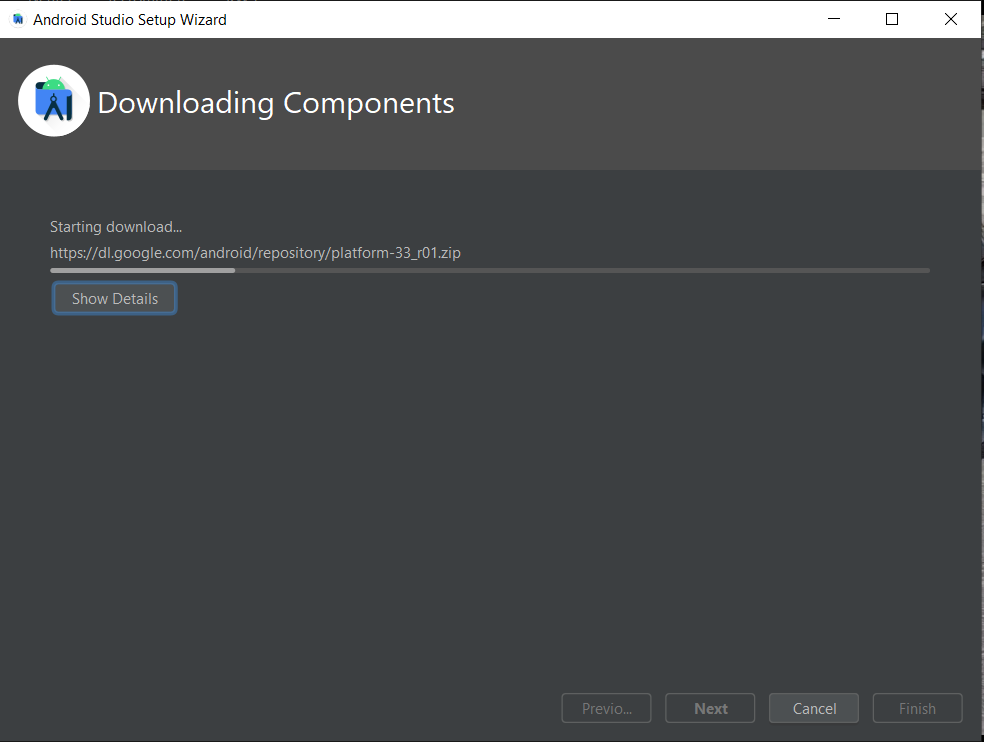
Click the “Finish” button after all installations are complete.
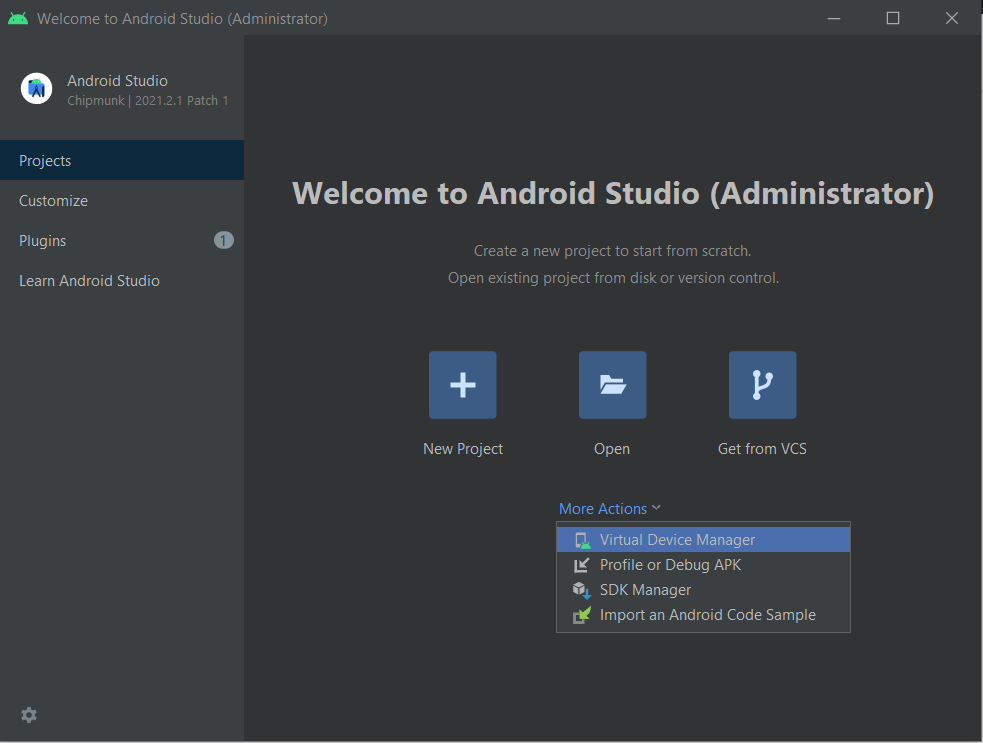
Click on “More Actions” then click on “Virtual Device Manager” to create a new Android Emulator.
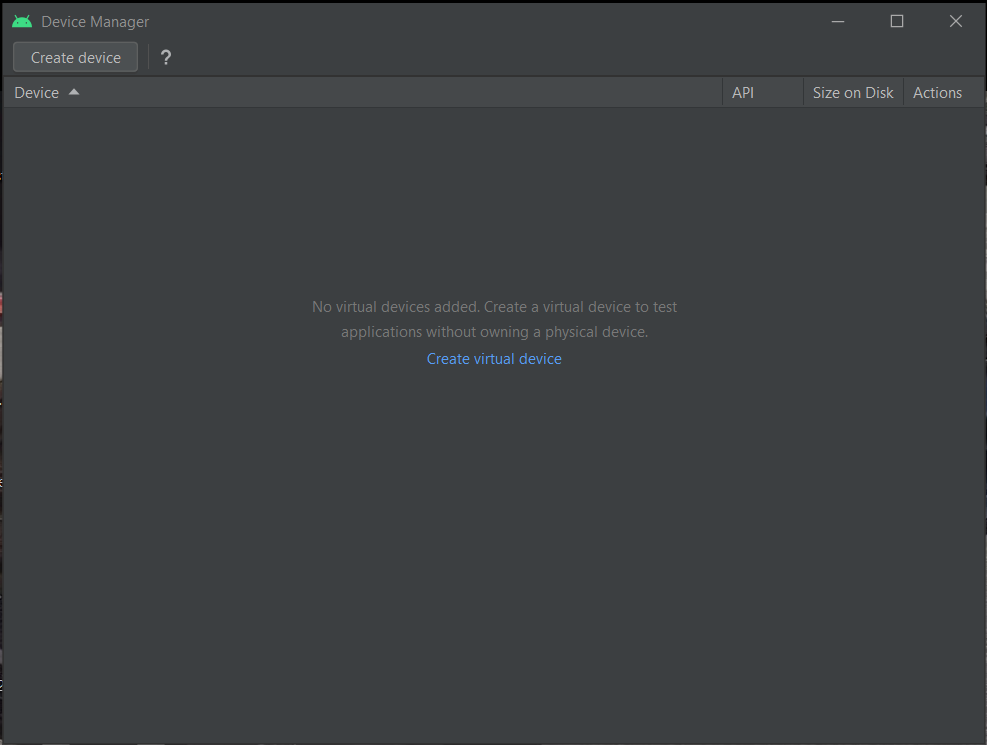
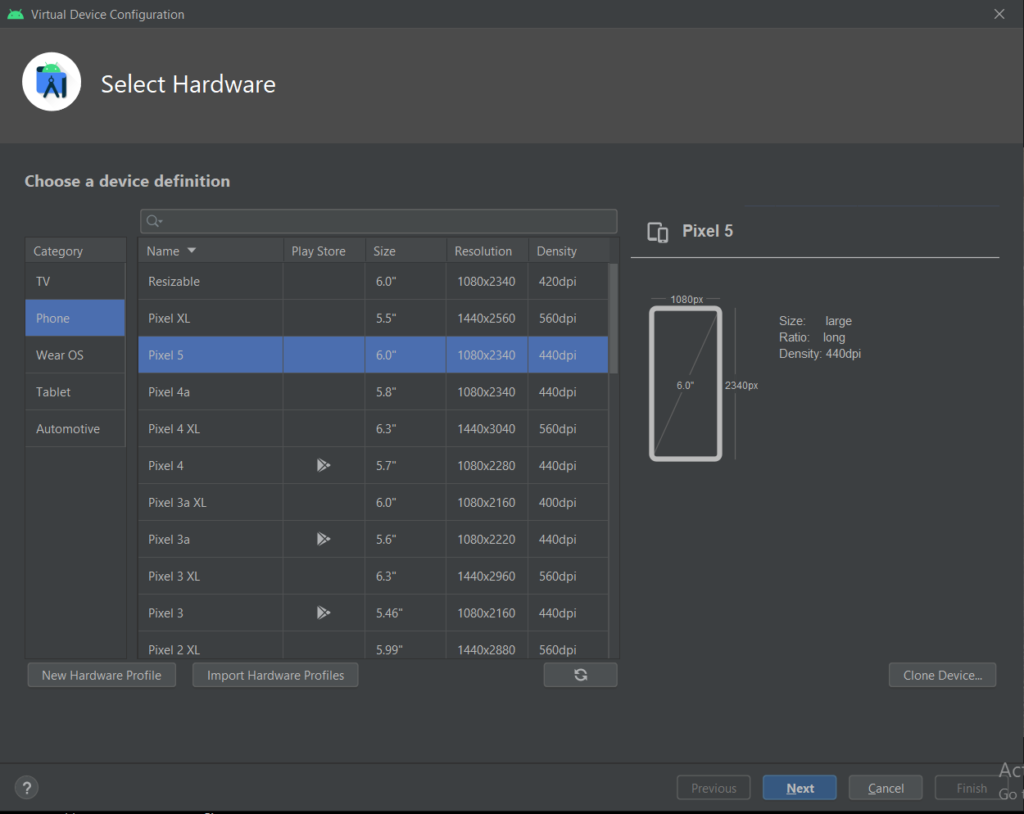
Click on “Create virtual device”
Choose the appropriate settings of the device you would like to create.
Click on the “Next” button.
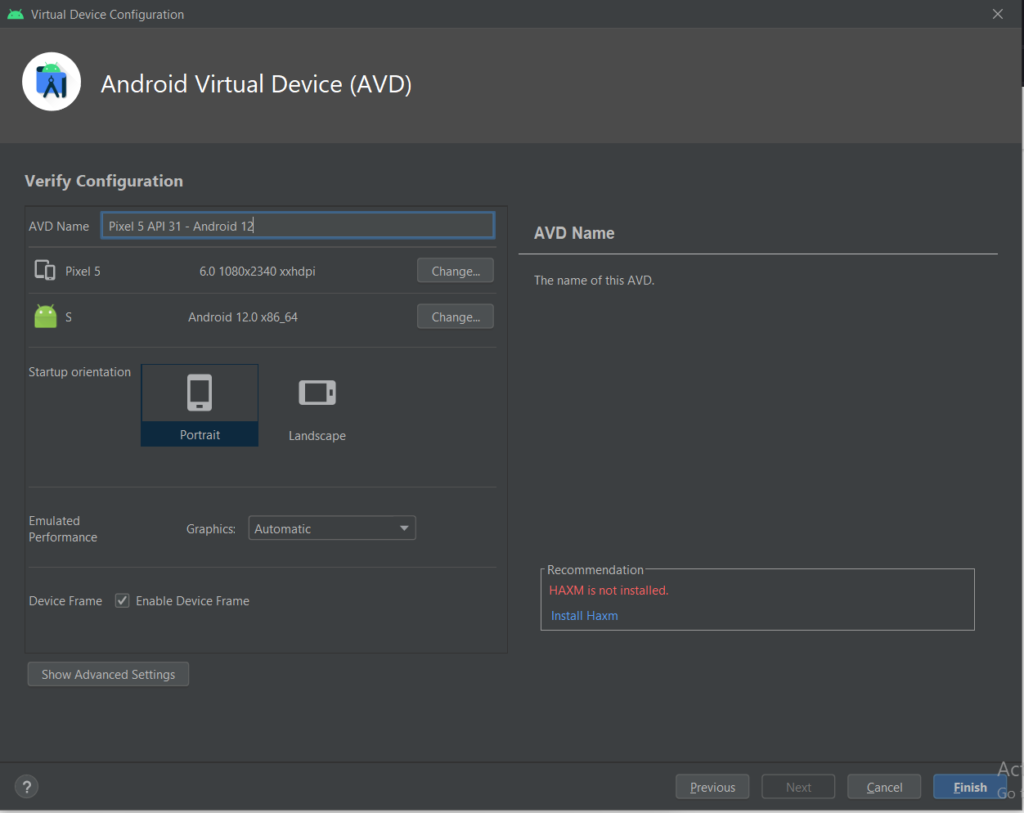
Give it the appropriate “AVD Name” as its name.
You can leave the default one if you don’t want to change it.
Select the System Image “s”.
If the System Image is not downloaded, click on the Download link next to it and follow the prompts to download and install it.
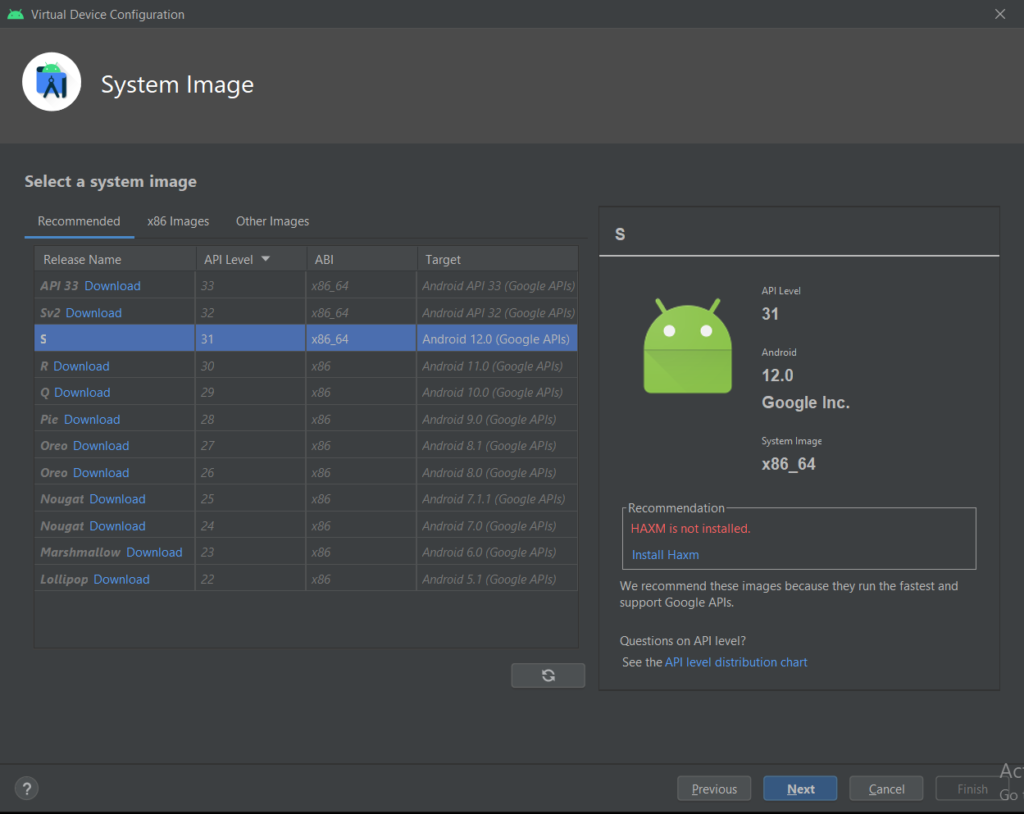
Click the “Next” button and then the “Finish” button to complete.
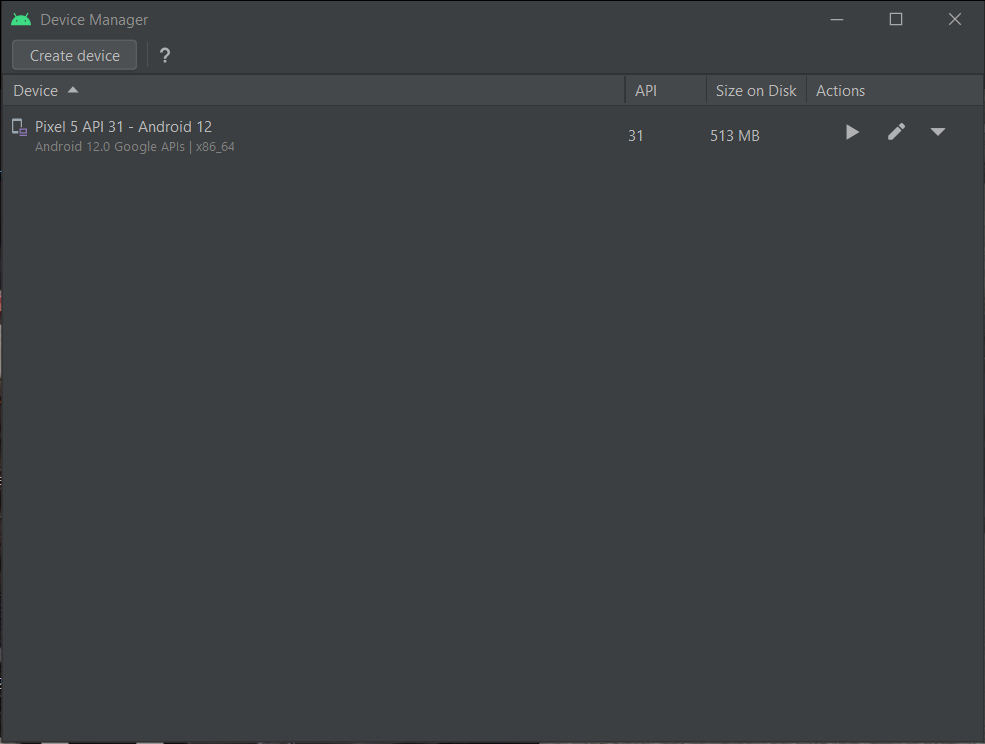
The device will appear as shown below.
You can click the play button to start the device.
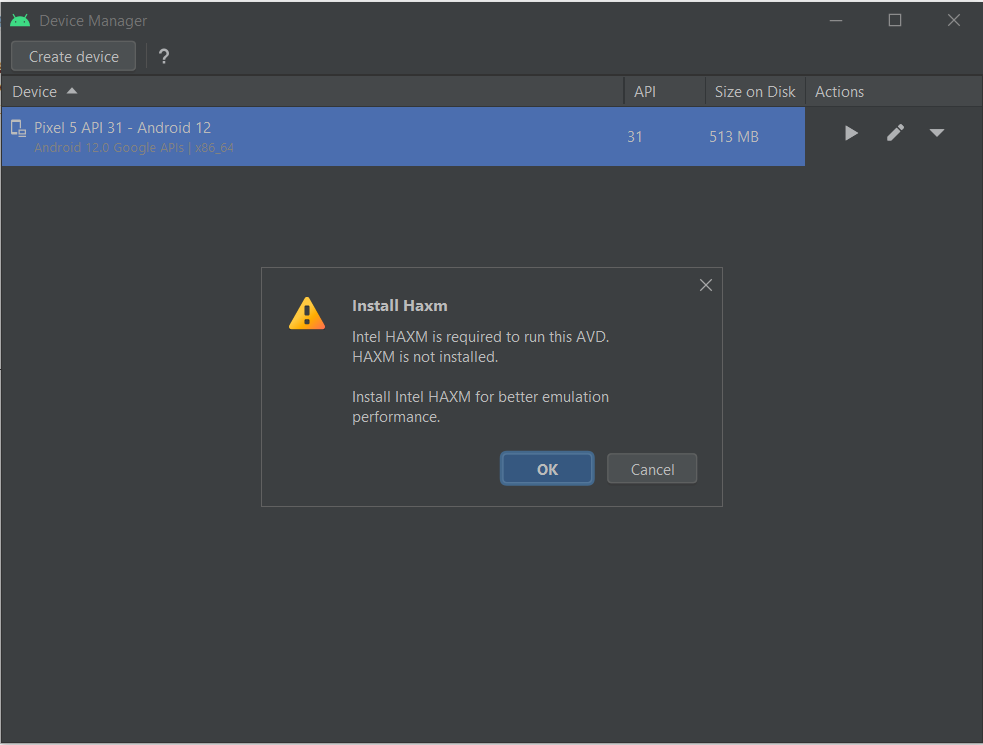
4. Troubleshooting Android 12 Install on PC Intel HAXM error
When installing Android 12 on a PC, you may encounter the error “HAXM not installed” as illustrated in the photos above.
When running the Android Virtual Device, the same error will pop up as shown below.
Android 12 Install on PC “HAXM is not installed” error resolution
Don’t worry. Here are the steps to solve the problem of Android 12 install on PC Intel HAXM error.
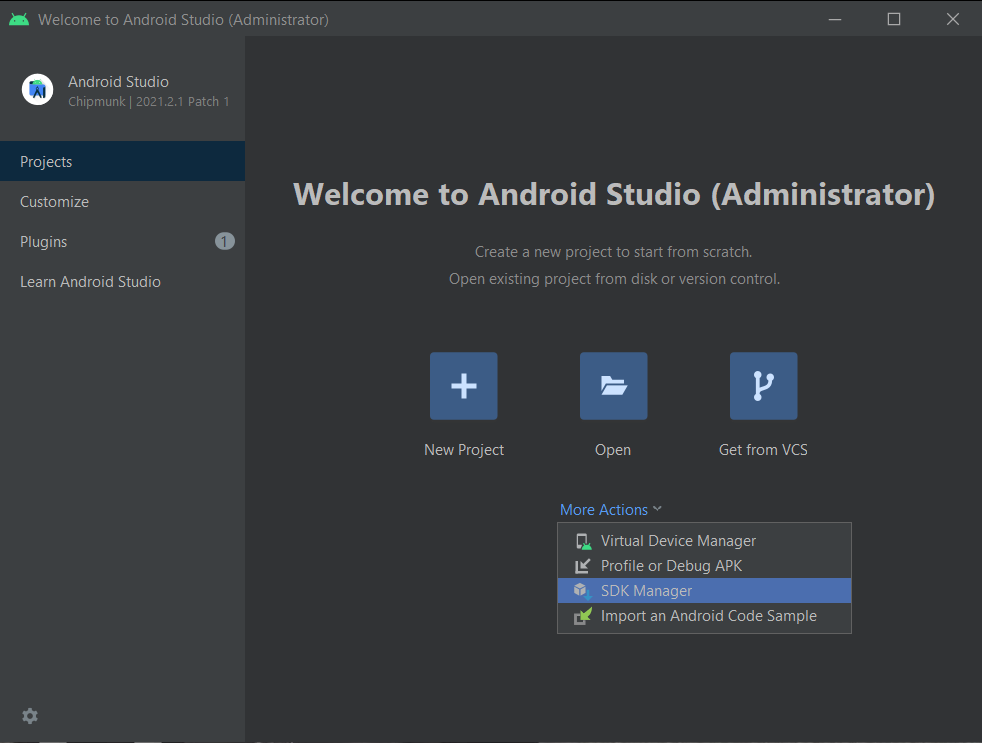
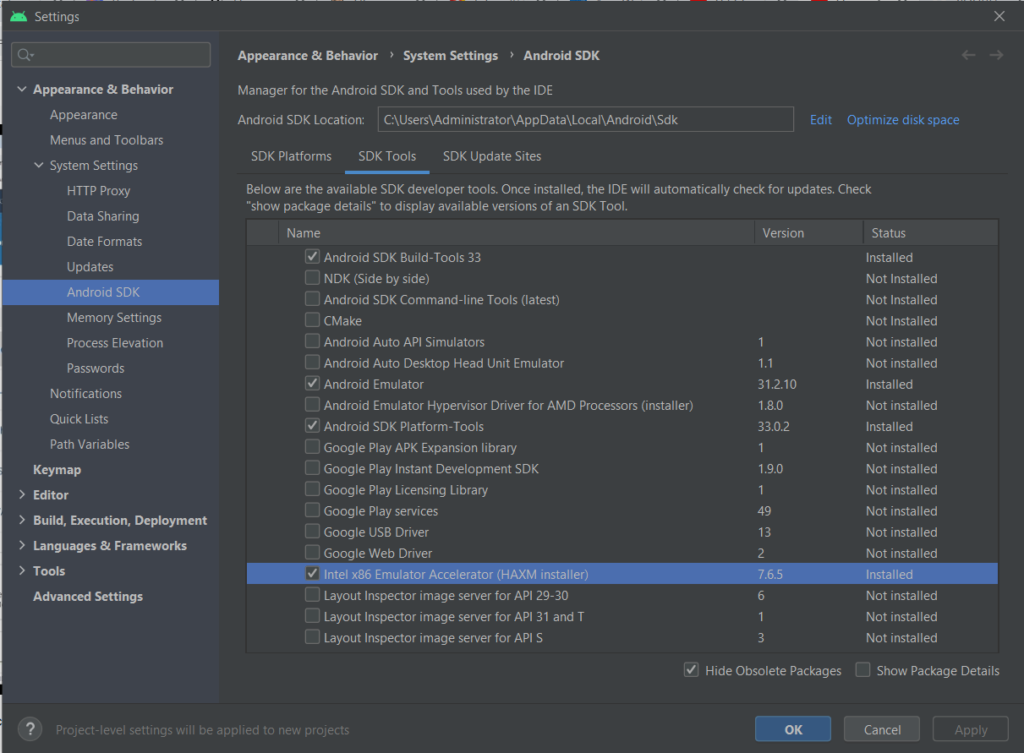
- Go to the SDK Manager. In the Welcome Screen, select “More Actions” then “SDK Manager”.
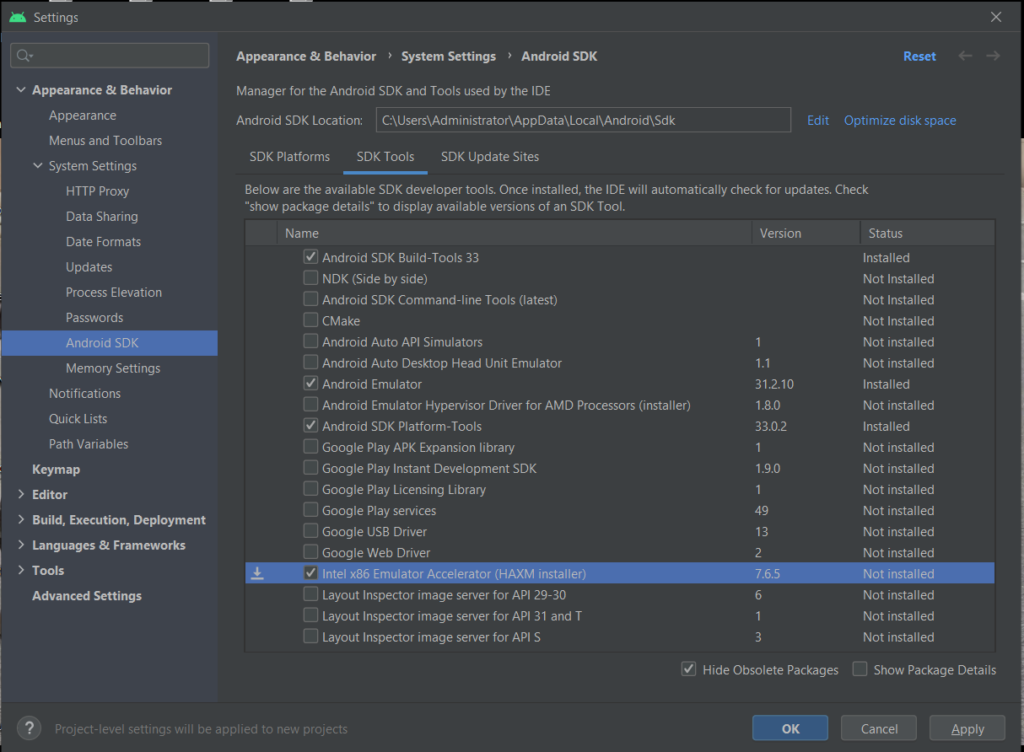
- Go and select the “Intel x86 Emulator Accelerator (HAXM Installer)” by selecting the check mark.
- Click on the “Apply” button.
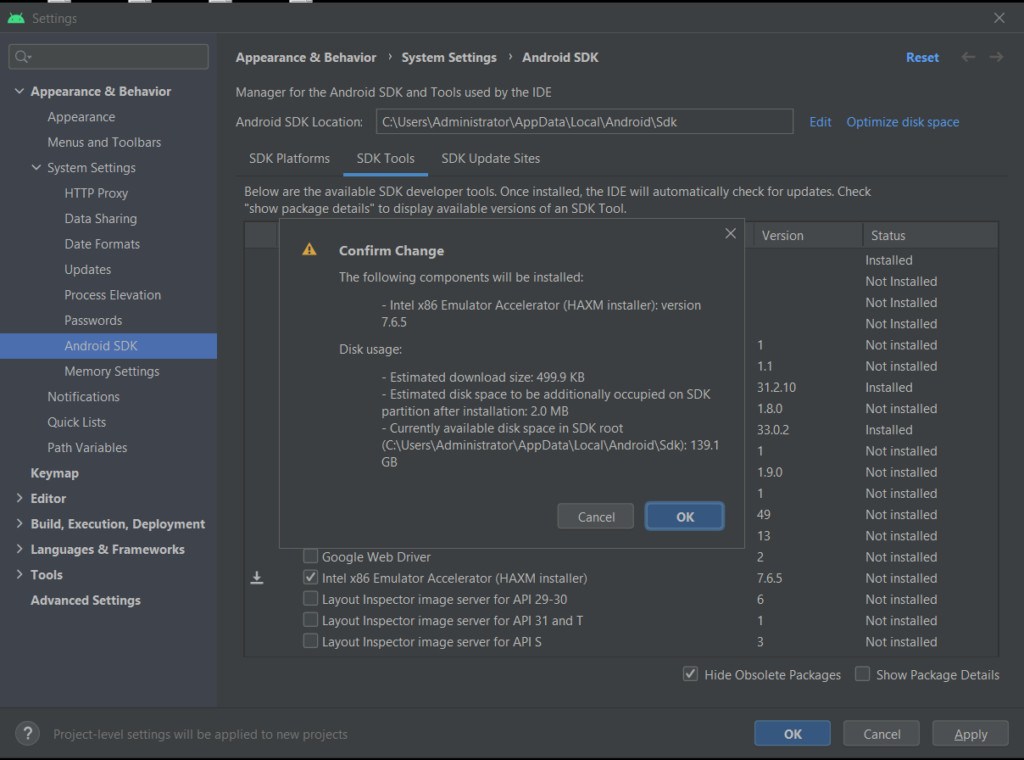
- Follow the prompts and let it install.
- After completion, you can go back to the AVD Manager (in the Welcome Screen, select “More Actions” then “AVD Manager”) and run the Android Virtual Device.
Conclusion
I hope you managed to install Android 12 on your PC by following our guide. In case of any queries, please get in touch with me in the comments section below.
Are you interested in amazing and cute wallpapers for your iPhone? Check out this article on the best wallpapers for iPhone to make your phone pleasing to look at.
Can I Install Android in PC
Yes, you can install Android Studio on a PC and run the Android Virtual Device to access the Android Operating System to run Android Apps and Android Games on a PC.
Can you install Android on a PC
Yes, you can install Android on a PC and run the Android Virtual Device to access the Android Operating System. This will allow you to run Android Apps and Android Games on a PC.