Contents
- What is a Facebook Business Page?
- Why You Want a Business Facebook Page
- How To Create a Facebook Fan Page Without Using Your Personal Account in 7 Quick Steps
- How to Manage Your Facebook Business Page
- How to Deactivate Your Facebook Page Temporarily
- How to Permanently Delete your Facebook Page
- How to Schedule Posts
- Optimizing your Facebook Business Page
In this article, I will show you how to create a Facebook fan page without using your personal account.
Are Personal Accounts Required to Create a Business Facebook Page? A quick answer is yes and no.
You may want to maximize the use of social media without exposing your personal information. Well, Facebook says that you have to have a personal profile to create a Facebook Fan Page, however, there is a workaround that can be done by few steps as outlined before:
Before we get started, lets get clear on what we are looking at:
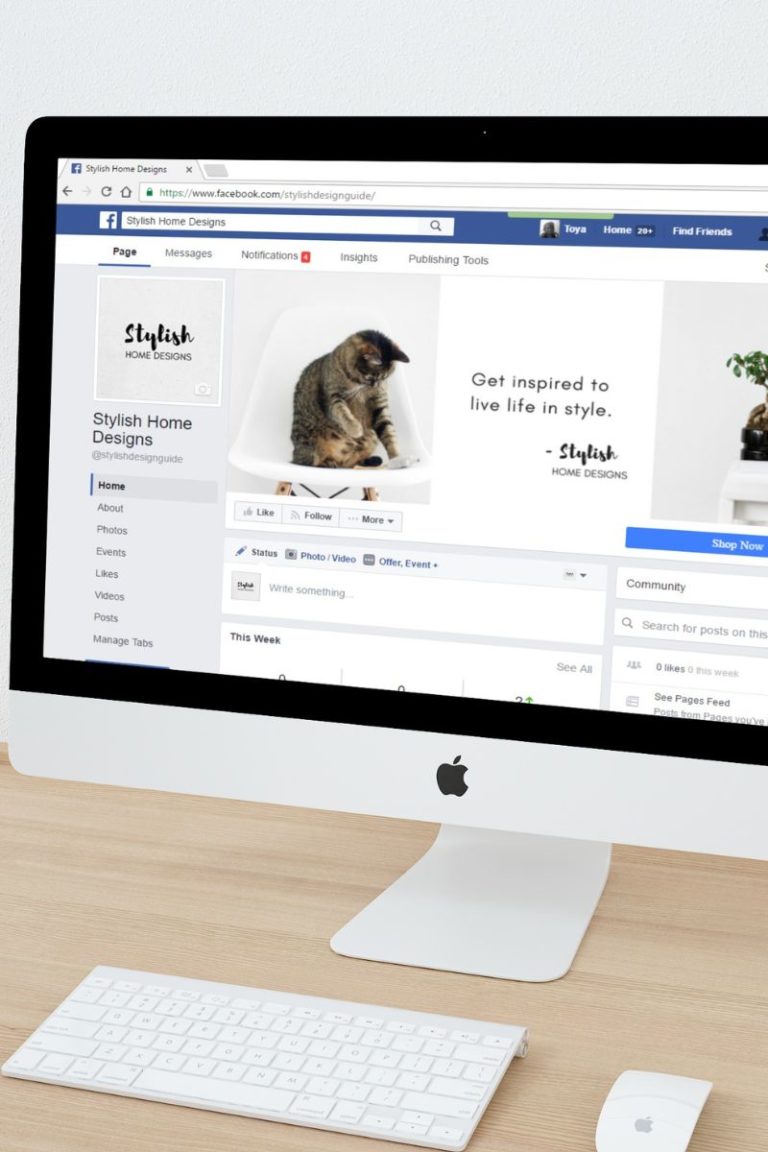
What is a Facebook Business Page?
A Facebook page is a page you can create on Facebook that allows businesses to:
- Promote events
- Share content
- Create posts
- Communicate with clients
- Share business news
- Share updates
Why You Want a Business Facebook Page
There are millions of consumers who flock Facebook on a daily basis, therefore you can tap on this potential to grow your business.
Your competitors are also most likely to be on Facebook thus they can gain competitive advantage over you if you are absent.
A Facebook business page can increase your revenue, especially when you add targeted Facebook ads to your Facebook marketing strategy. Facebook Posts are the leading platform for discovery by potential customers.
Facebook is one of the leading review sites for local businesses, with 49% of consumers seeking out reviews on this platform to guide their purchasing decisions.
How To Create a Facebook Fan Page Without Using Your Personal Account in 7 Quick Steps
1. Create/Sign Up for Your Facebook Business Page
If you have an existing Facebook account, you may not want to use it for this purpose. Instead, go to Facebook.com and Sign Up with your details.
GO to sign up and enter your details like First Name, Last Name, Email, Birthday and upload your Profile Picture. For profile picture, you can put a picture of flowers or landscape and not necessarily your own. Make sure to use your actual legal names because they will be critical when running ads.
Don’t fill out any additional information, even though Facebook may ask you to.
2. Turn off Notifications
Turn off all notifications. Go to settings, privacy, Notifications settings and turn them all off. For your new page, you may not require notifications, but you can instead come back to check if there are any. This will prevent you from being bombarded by multiple notifications.
3. Create your Page
Type in your page name—this should be the name of your business and business category. Your category acts as a basic lead for what your business does.
Fill out your business address. You have the option to check Don’t show my address if you only want your city and state displayed.
Under your page name on the left-hand side, tap Create Page @Username. This unique username will give you a custom URL (ex: facebook.com/username) and help potential customers find you.
You can add cover photos and more details to your business profile.
Bookmark the pages you will use eg facebook.com/mypage
or facebook.com/inbox
4. Create a Call-to-Action button
A call-to-action (CTA) button on your Facebook Business Page will encourage visitors to take a specific action eg making a purchase or booking an appointment. To setup CTA: Go to your Facebook Business Page and click on the blue “+ Add a Button” button below your cover photo.
Choose the type of CTA you want to use from the list of options, such as “Shop Now,” “Book Now,” or “Contact Us.”
Enter the URL where you want people to go when they click on the button. This could be a product page on your website or a contact form.
Click “Finish” to save your changes.
5. Connect your Facebook Page with your WhatsApp Business
Connecting your Facebook Page with your WhatsApp Business account will help you streamline customer communication and provide a better user experience. Here’s how to do it: Go to your Facebook Page and click on “Settings” in the top right corner.
Click on “WhatsApp” in the left-hand menu.
Click on “Connect Account.”
Enter your WhatsApp Business phone number and click “Send Code.”
Verify your phone number by entering the verification code you receive via WhatsApp.
Once verified, choose which types of messages you want to send from your Facebook Page to WhatsApp (e.g. customer service inquiries, order updates).
Click “Finish” to save your settings.
Once you’ve connected your business page with your WhatsApp Business account, customers will be able to message you directly through WhatsApp by clicking on the “Message” button on your business page.
6. Download Mobile App
Download either Facebook Creator Studio app or Facebook Business Suite. Don’t download the regular Facebook app. The creator studio app is for content creators and the Facebook Business Suite is for the brick and mortar organizations.
7. Create your First Post
Here are some tips to help you create your first post:
- Define your audience: Before writing your post, think about who your target audience is and what they might be interested in.
- Keep it short and sweet: People tend to have short attention spans on social networks, so aim for posts that are concise and easy to read.
- Use visuals: Images and videos can help make your post more engaging and eye-catching. Make sure they’re high-quality and relevant to the content of the post. You might consider using a tool like Canva to help with that.
- Showcase your brand personality: People like personality. Be sure your caption reflects your brand’s unique style and tone.
- Include a call-to-action (CTA): Encourage engagement by adding a CTA at the end of your post, such as asking people to comment or share their thoughts.
How to Manage Your Facebook Business Page
After successfully creating your Facebook Business Page, here is how to manage the page.
How to Deactivate Your Facebook Page Temporarily
If you would like to temporarily remove your Facebook page from the public, here’s how to do it:
- Go to your Facebook Page and click on “Settings” in the top right corner.
- Click on “General” in the left-hand menu.
- Scroll down to the bottom of the page and click on “Remove Page.”
- Select “Deactivate Page” and click “Continue.”
- Follow the prompts to confirm that you want to deactivate your page.
After deativating your Facebook page, it will no longer be visible to anyone. It’s important to note that deactivating your page is different from deleting it entirely. If you choose to delete your page permanently, all of its content and data will be lost forever.
How to Permanently Delete your Facebook Page
If you decide that you no longer want to keep your Facebook Page, you can permanently delete it. Here’s how:
- Go to your Facebook Page and click on “Settings” in the top right corner.
- Click on “General” in the left-hand menu.
- Scroll down to the bottom of the page and click on “Remove Page.”
- Select “Permanently Delete Page” and click “Continue.”
- Follow the prompts to confirm that you want to permanently delete your page.
After confirming that you want to delete your Facebook Page, it will be removed from Facebook forever, along with all of its content and data. This action cannot be undone.
How to Schedule Posts
Facebook allows you to schedule posts in advance, which means you can batch out content once or twice a month and not have to worry about manually posting. Here’s how to schedule a post on Facebook:
- Start by creating your post as you normally would, including any text, images, or links you want to include.
- Once your post is ready, select “Schedule.”
- Choose the date and time you want your post to be published using the calendar and clock icons.
- Click “Schedule” to set the publication date and time for your post.
Optimizing your Facebook Business Page
To grow and fully utilize your Facebook business page, the following tips will guide you:
1. Look at Page Insights
Facebook Business Page Insights provides lots of valuable data and information about your audience, engagement, and performance on the platform. Here’s how to explore that data:
- Go to your Facebook Page and click on “Insights” at the top of the page.
- From here, you’ll see a dashboard with several different tabs that allow you to explore different types of data about your page.
- The “Overview” tab provides a summary of your page’s performance over the last 7 days, including metrics like reach, engagement, and likes.
- The “Likes” tab provides information about who likes your page, including demographics like age, gender, and location.
- The “Reach” tab shows how many people have seen your posts in their News Feed or on your Page.
- The “Engagement” tab displays data on post engagement such as reactions, comments, shares etc.
- You can also explore other tabs that provide more detailed information about video views, website clicks and more.
2. Pin a Post
Some posts will include important information and announcements, so you may want to pin them to the top of your page for optimal visibility. Here’s how to do it:
- Go to the post you want to pin on your Facebook Business Page.
- Click on the three dots in the top right corner of the post.
- Select “Pin to Top of Page” from the drop-down menu that appears.
- If you have multiple posts pinned, you can rearrange their order by clicking and dragging them in the “Pinned Posts” section located under your page cover photo.
- To unpin a post, click on the three dots in the top right corner of the pinned post and select “Unpin from Top of Page.”
Note that you can only pin one post at a time, so be sure to choose your pinned post carefully.
3. Get Facebook Reviews
Reviews can make or break your business. Ensure that you collect reviews continually to instill trust on your business. Remove fake or spam reviews as they might raise some red flags for potential customers visiting your page for the first time.
Hope you learnt how to create a Facebook fan page without using your personal account. You can read about how to create an aesthetic YouTube Banner.